Stay updated
Explore our blog center for valuable information, research, case studies, instructions, and more
Understanding Pool Flow Meters and Flow Rate
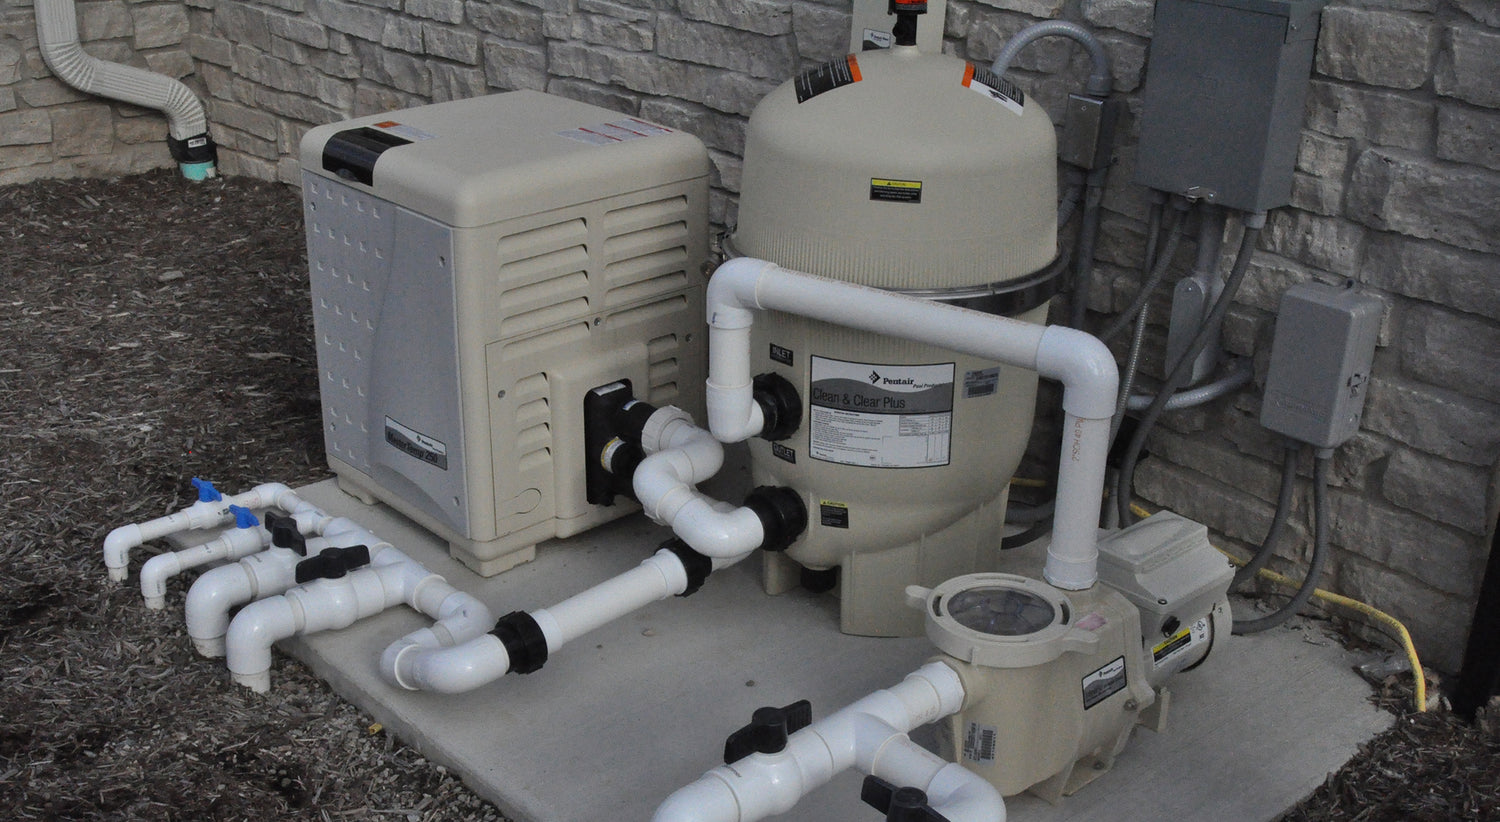
Swimming pools are great for relaxation and exercise, but they require regular maintenance to stay in top condition. One important aspect of pool care is monitoring the flow rate—the speed at which water circulates through the system. Keeping the flow rate normal is essential for cleaning, saving energy, and ensuring proper chemical distribution. To measure the flow rate accurately, a pool flow meter is key. This simple tool helps track water circulation and spot any issues early.
Product Resources
Learn additional details about our products and access helpful resources
How to Check Valve Operation after LevelSmart Installation
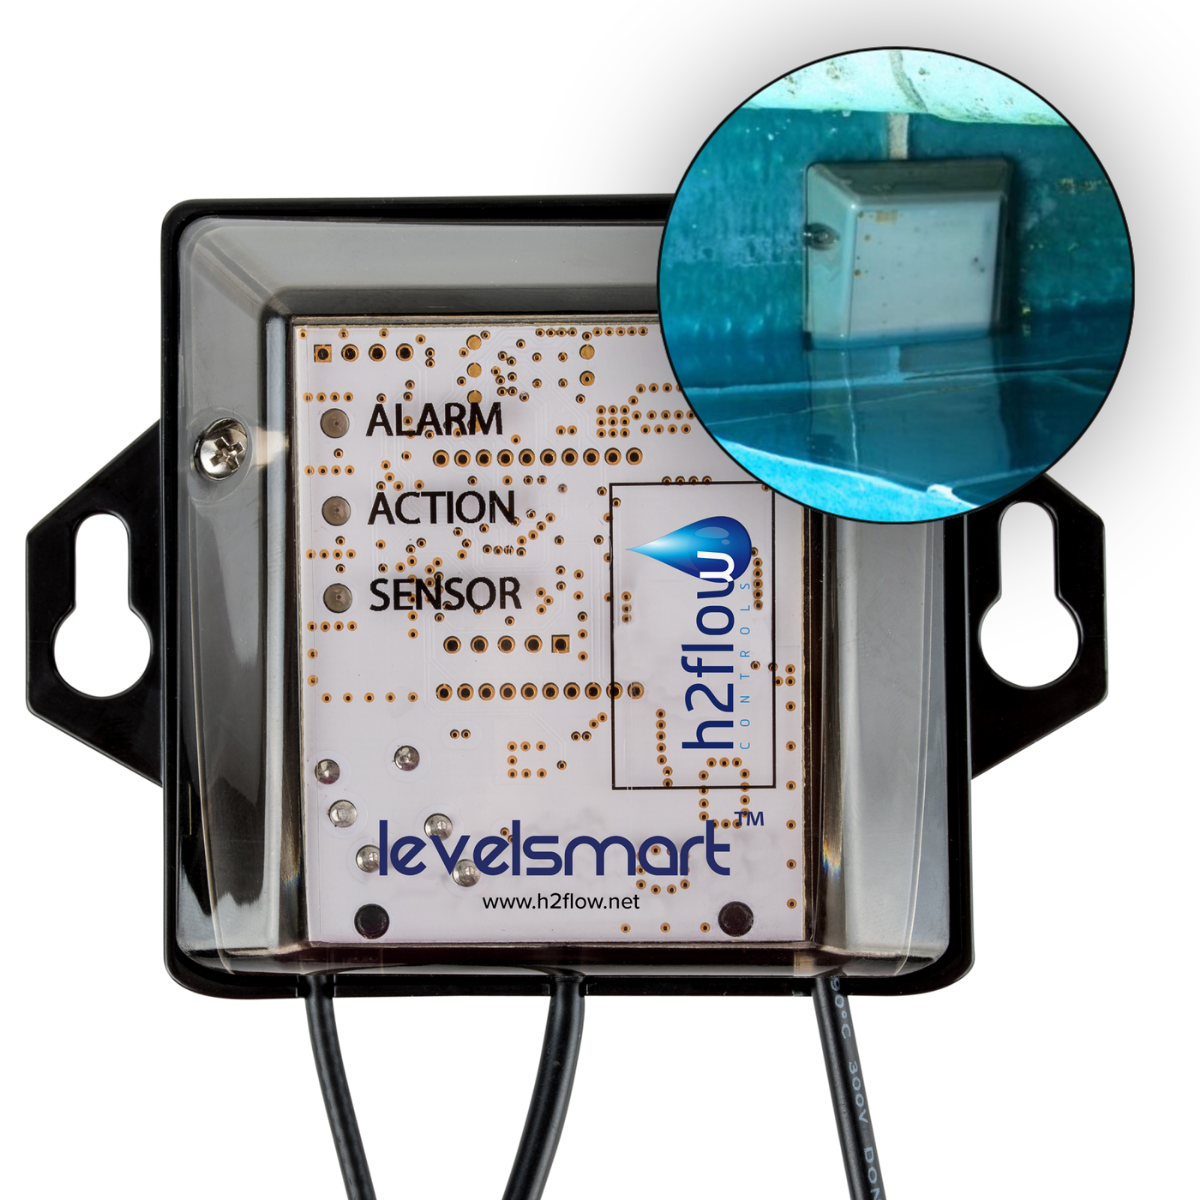
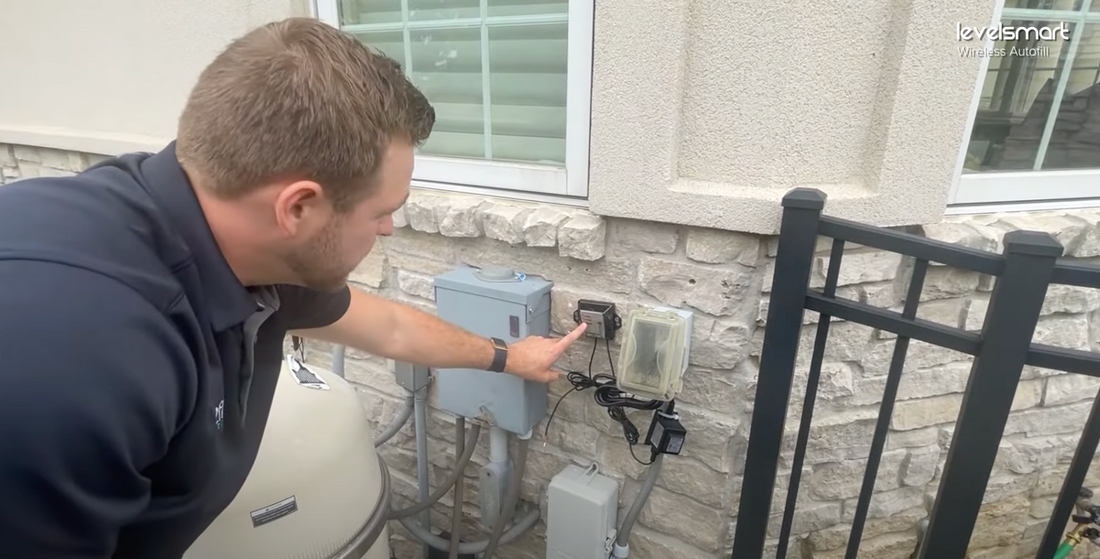
After successfully pairing your LevelSmart, you can check the valve operation and connection. Be cautious not to hold the magnet on the Valve Controller for longer than 15 seconds, as it will reset the system and require you to repeat the pairing process. Place the magnet on the Valve Controller until the red and green LEDs illuminate, adjust for polarity if needed, then hold the magnet for five seconds and remove it. The Action LED will light up for five seconds, indicating the valve is open, and you'll hear the valve open and close, confirming a successful connection. If the test fails, ensure the Valve Controller shows a green sensor LED, check that the water level covers the bottom third of the sensor, and reset the sensor by holding the magnet on it for five seconds. After removing the magnet, the sensor LEDs should flash three times, and the system will recalibrate, with the Valve Controller's green LED turning solid once complete.
Learn more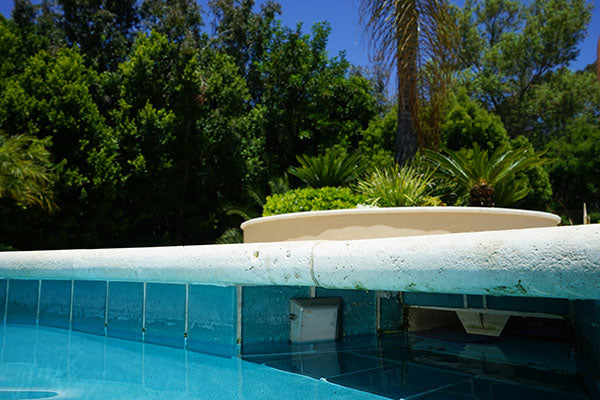
How to Pair the LevelSmart Wireless Autofill System
The pairing process takes 2.5 minutes to complete. The pairing process will ensure that you have good communication between the sensor and the valve controller along with a calibrated water level. You can reach the instructions or follow along with the video below. Before starting make sure the Antenna and antenna tip is connected and mounted. Also, have the sensor near the installation location if not already adhered. Put Valve Control in pairing mode To put the Valve Controller in pairing mode, place the magnet provided on the Valve Controller for more than 16 seconds, then remove it. Once removed, the three LEDs will flash in a scrolling sequence from bottom to top. Put Sensor in Pairing Mode Now that the Valve Controller is in pairing mode it's time to activate the pairing mode for the sensor. Take the magnet to the Sensor and engage the Sensor by placing the magnet on the right side for 5 seconds, then remove it. Once removed, the Sensor LED will flash three times from the top center of the Sensor. Confirm Successful Pairing Check the Valve Controller to observe the pairing process status. The Valve Controller Action LED will flash continuously for a total of two and a half minutes while it confirms the connection with the sensor and calibrates the set level. Once this process is finished the solid green action LED will be on the Valve Controller. If this is not the case, the pairing was unsuccessful and you may have to move the antenna location. Be sure the antenna is not against any metal as that will interfere with the signal. Once you have adjusted the placement restart the pairing process. You can also follow along with this video for the pairing process
Learn more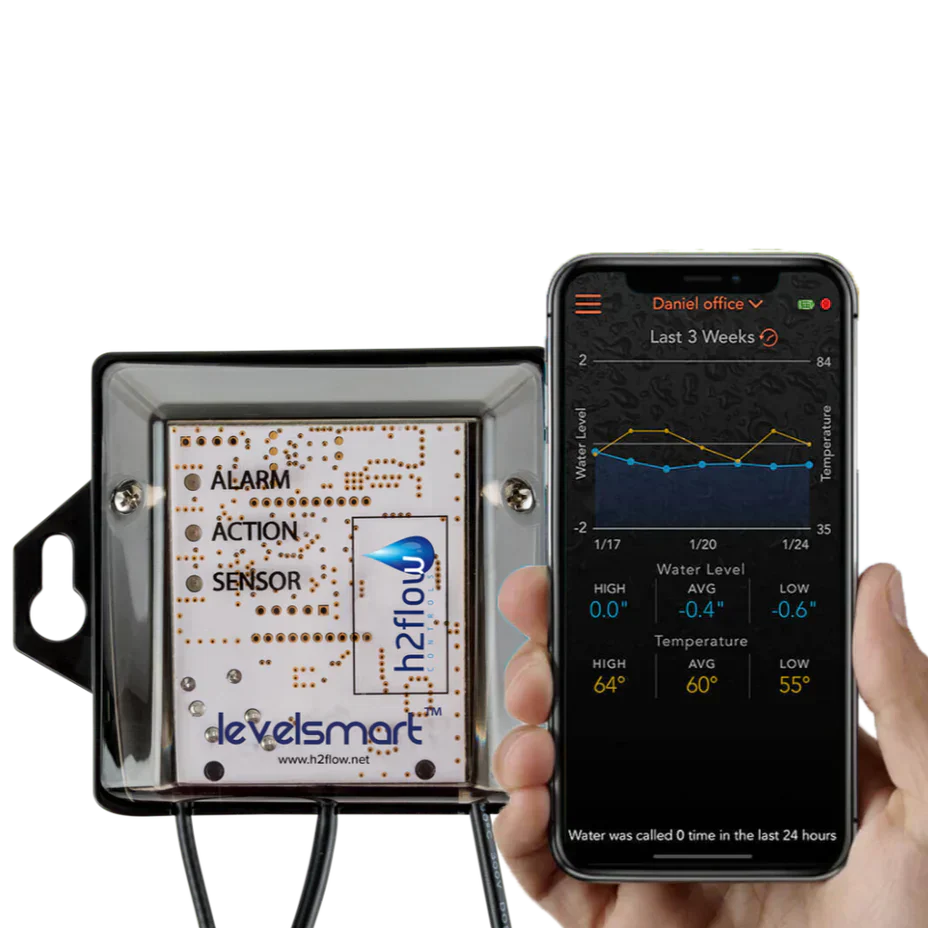
How to setup the online account for LevelSmart Online
When you purchase a LevelSmart system online, you'll need to create an account with Konametrix.com to access and manage your data. After setting up your account, you'll be able to choose a data plan, enter your billing information, and activate your system to start receiving real-time data. This ensures that your LevelSmart device is properly synced and provides you with the necessary insights to monitor your system effectively.
Learn more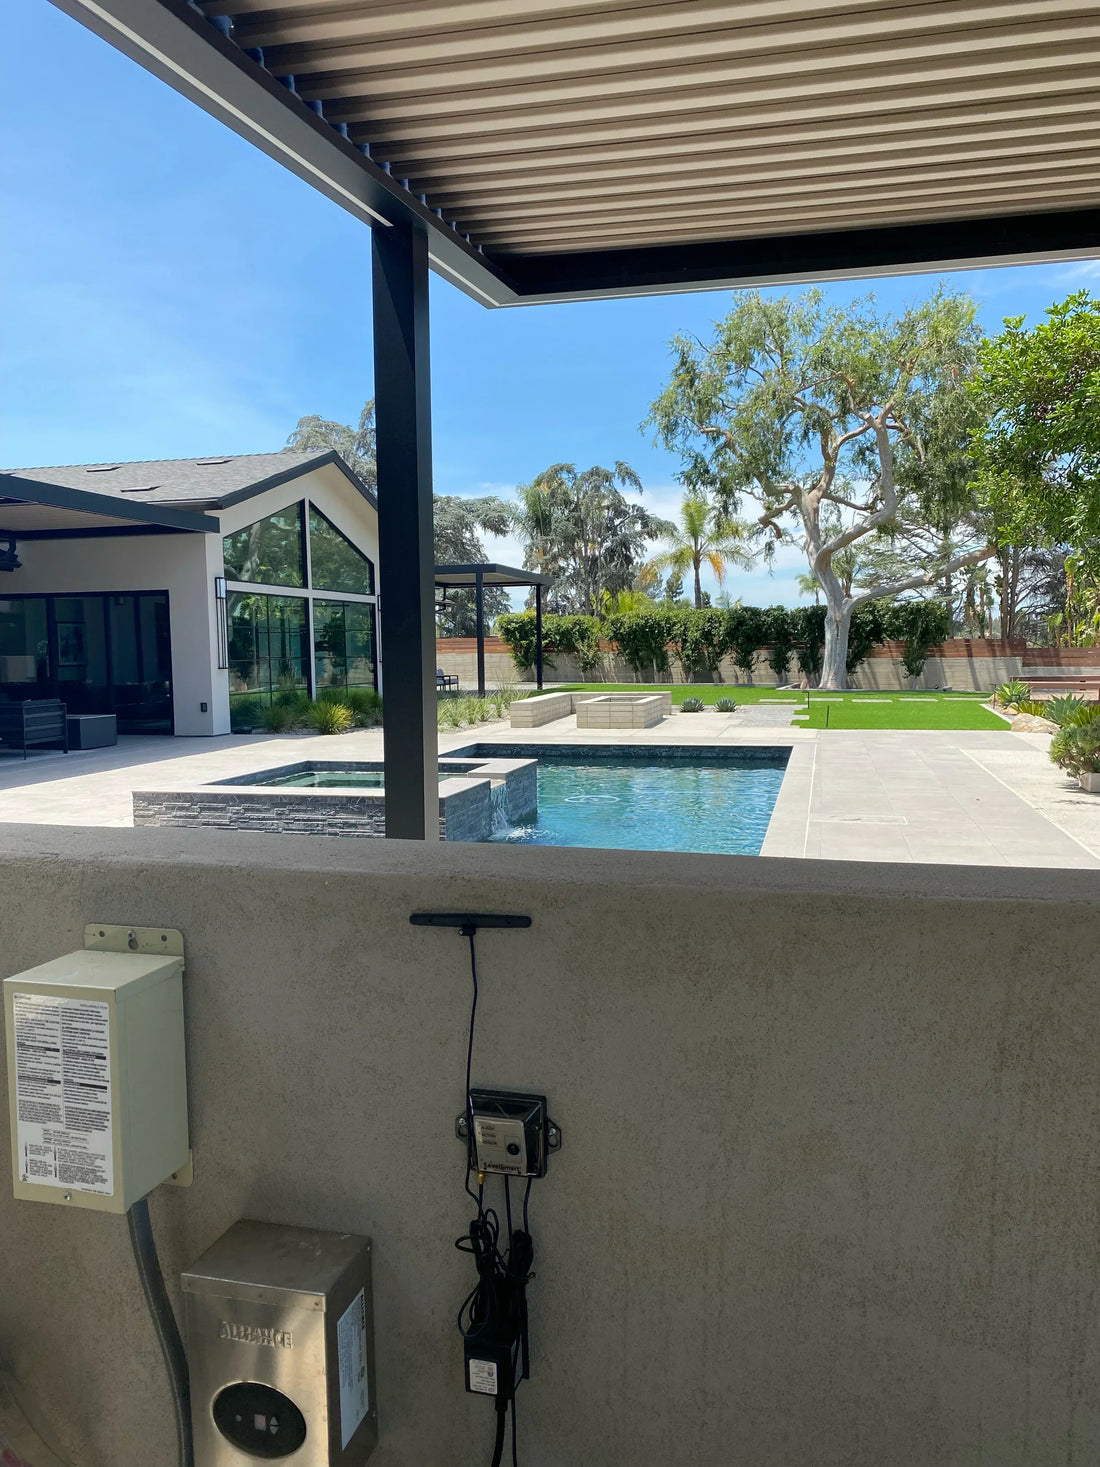
How Do I install the LevelSmart Wireless Autofill?
The LevelSmart Wireless Autofill system from Kona Labs offers a simple, wireless solution for maintaining optimal water levels in various water systems, including pools, spas, ponds, and tanks. Unlike traditional systems that require complex plumbing, LevelSmart’s wireless design makes installation easy and hassle-free. This guide provides step-by-step instructions for installation, calibration, and troubleshooting, helping you get the most out of your system. While most of the installation can be done with basic DIY skills, valve installation should be handled by someone experienced in plumbing.
Learn more
Blog Posts
Learn more helpful tips, tricks, information, and more

Smart Pool Monitoring for Airbnb Hosts: Keep Your Pool Guest-Ready
A poorly maintained pool can tank your Airbnb reviews. Learn how smart pool autofill and remote monitoring help short-term rental hosts maintain perfect water levels without being on-site.
Learn more
How to Automatically Fill Your Pool: A Complete Setup Guide
Automatically filling your pool keeps water levels perfect without manual effort. Learn how smart pool autofill systems work, how they install, and what to look for when choosing one.
Learn more
How Much Does It Cost to Fill a Pool?
Pool filling costs range from $50 to $600+ depending on size and local water rates. Learn what drives the cost and how smart pool monitoring cuts your long-term water bill.
Learn more
Pool Auto Fill Not Working? How to Troubleshoot Common Issues
Pool auto fill problems like overfilling, underfilling, or erratic cycling are usually caused by worn floats or clogged valves. Learn how to diagnose and fix the most common pool autofill issues.
Learn more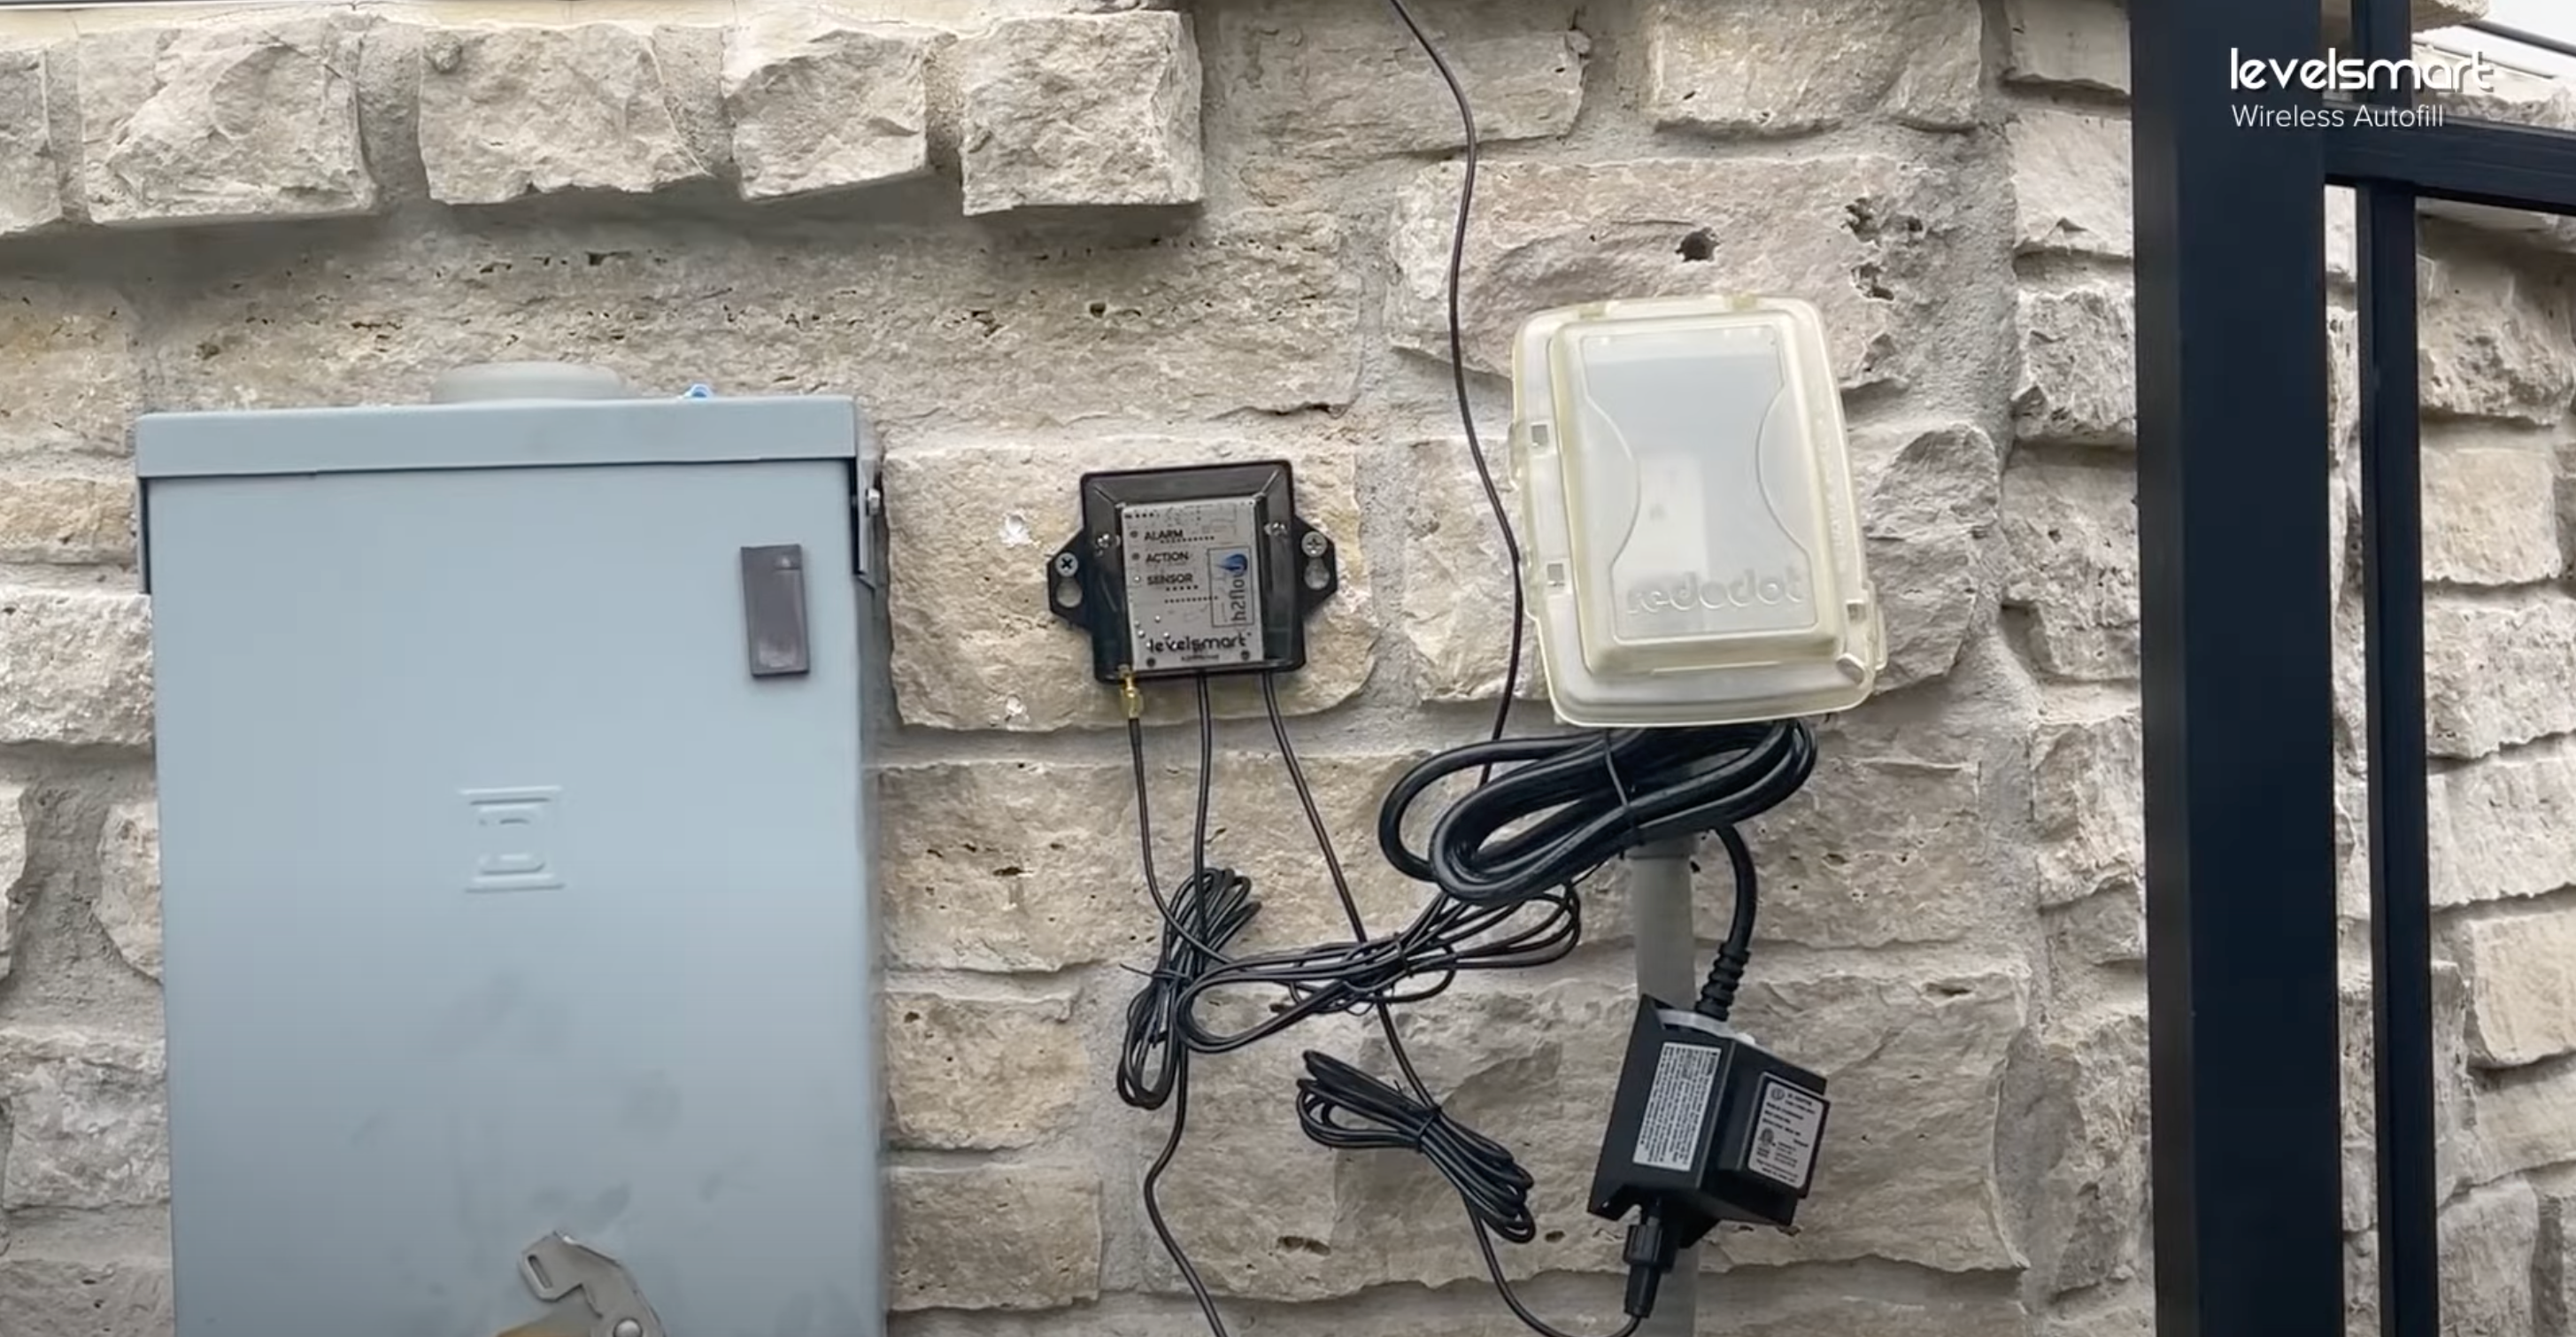
How to Install the LevelSmart
Unsure how to install your LevelSmart? Watch a quick video demonstrating how effortless it is to retrofit your autofill to your pool.
Introducing the LevelSmart
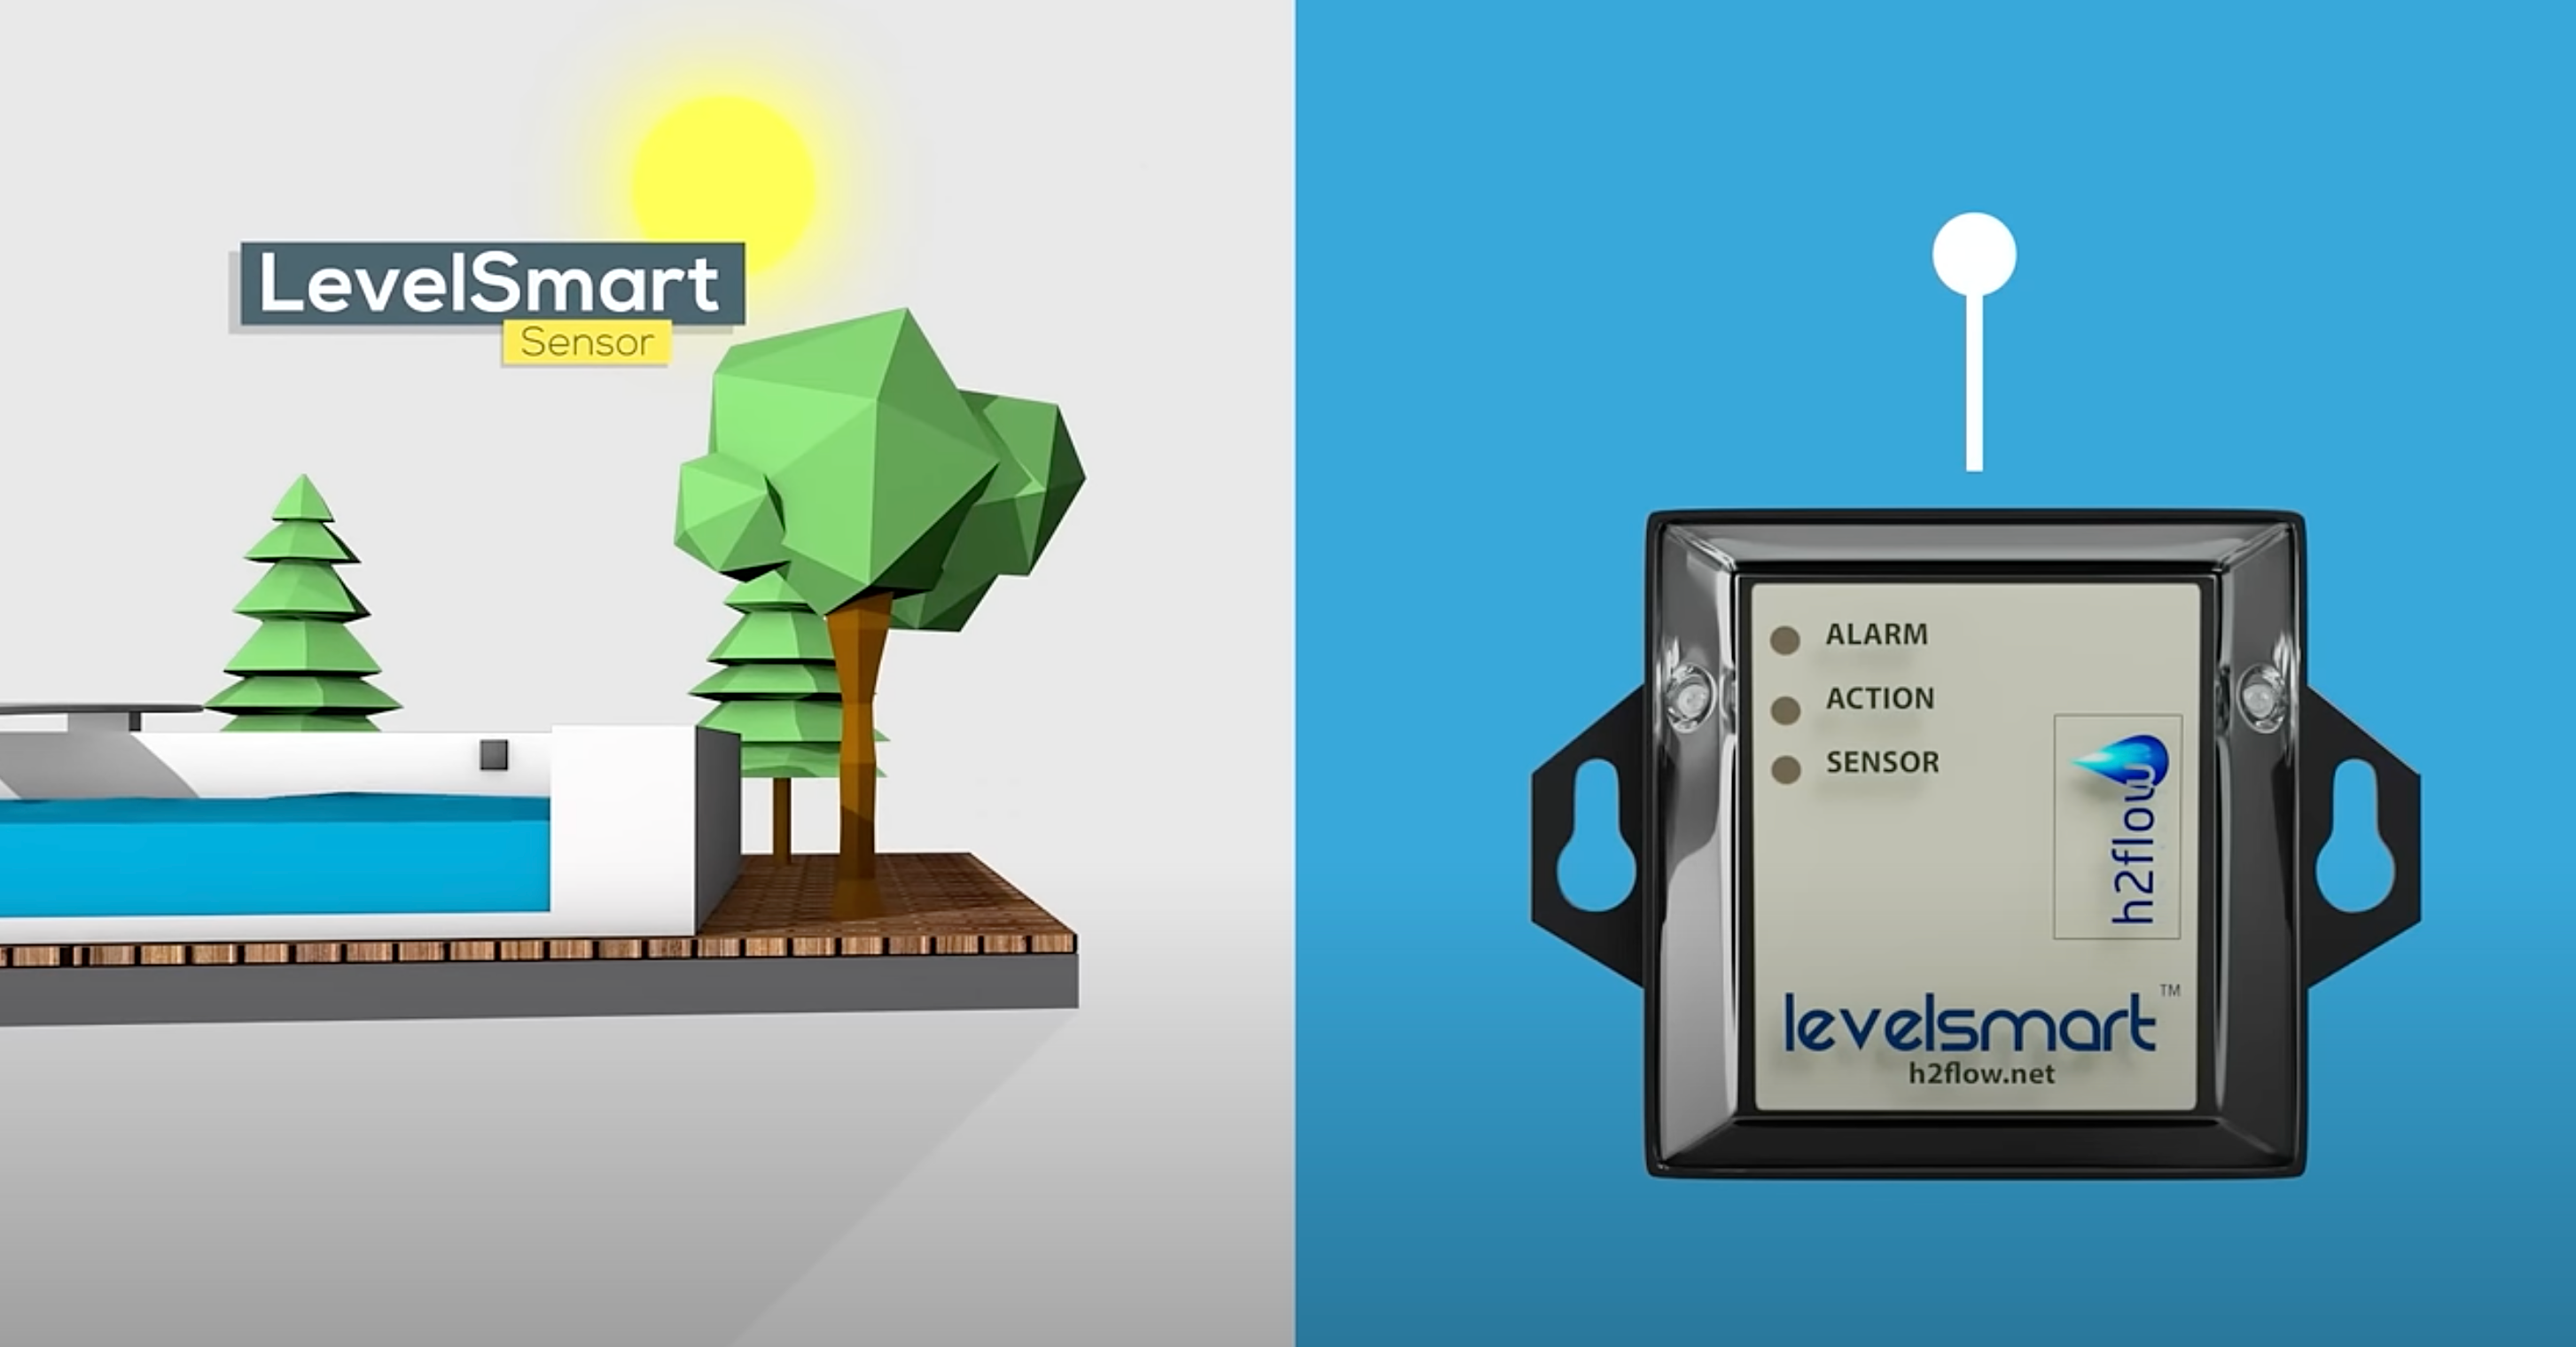
Learn about the LevelSmart Wireless Autofill and simplify your pool maintenance.